Although I'd made significant progress on my
dad bod, I didn't really have a costume for Halloween this year. Getting down to the wire, I was resigned to buying something off-the-rack.
Then,
on Wednesday, October 28, a JLENS sensor blimp got loose.
Inspiration struck. But could I do a costume in less than three days?
The Planning
I didn't have a lot of time to plan. Initially, I thought about using a balloon (and in retrospect, I should have tried harder to go this route), but I couldn't find the right shape, so I decided to make something with paper mache.
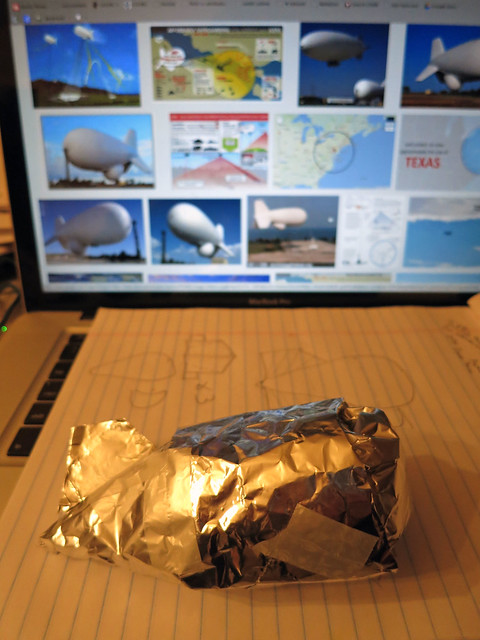
I looked at some
reference images, and just needed a rough teardrop shape, with fins, and a bulge on the bottom for the sensor pod. I tried making a model out of aluminum foil:
The structure would be chicken wire, though I decided to add some supports, using round foam core discs hot-glued onto a dowel:
Next, came the chicken wire, which was a pain to work with. I eventually got it into a teardrop/bomb/whale shape -- since it was a runaway blimp, it didn't need to be perfect. And it wasn't:
I decided I would wear it on my head. For the mount, I wrapped chicken wire around the bike-helmet-in-a-box mount from
last year's Speed Hump sign costume, and then wired the "sensor pod" to the bottom of the blimp.
The chicken wire, painful as it was, was the easy part. Next came the paper mache, which I haven't worked with since... I'm not sure. It was messy. I laid it down in neat rows, instead of criss-crossing all around, so the bottom parts wouldn't stay on and there were lots of gaps. I started about 8pm Friday night, and kept going for about 10 hours, before taking a 2-hour nap.
Eventually, by early afternoon on Saturday, it looked like this. I used white duct tape to patch some of the bigger gaps, and used a heat gun to dry off the dampest spots. (If you look closely, you can see scorch marks.)
The fins were easy -- I made 3 out of foam core, and hot-glued them in place. Then it was ready for painting.
Because I built it on the floor, I didn't really get a look at the underside. This would be a problem, because I didn't see what the gaps looked like, and since I'd be wearing it on my head, people would be looking up at them. But it was too late to really do anything about it, so I painted it:
The paint was dry to the touch in about 30 minutes, so that was about it.
The Wearing
To test it, I hoisted it onto my head and buckled the strap. It was a lot heavier than I expected, and wasn't balanced particularly well. But I was stuck with it.
Ultimately, I only lasted about 10 minutes under it -- it was unstable, I had a hard time walking indoors with it, and it wasn't very much fun wearing it. So I switched to a backup costume for the rest of the evening.
Like I said, since the aesthetic was "crashed runaway blimp," I could live with the imperfections (and there were many). But if I had to do it again, I wouldn't do paper mache -- it was too heavy to support with just my neck -- I'd just find a regular balloon, or even just tether a helium balloon to my head. And while I can't say I enjoyed the build process, I did find the experience educational.
Materials list:
* 5-pound bag of white flour (for making
paper mache)
* Newspaper
* Foam core board (for fins and internal support)
* 5/8" dowel (36" long)
* Roll of chicken wire
* One can of lacquer-style white glossy spray paint
* Hot glue gun
* Heat gun
* "Bike helmet in a box" mounting system
* Pliers and tin ships for cutting and bending wire.






 Posts
Posts


